Easily Replace Starter Rope on Briggs & Stratton: Step-by-Step Guide
If your Briggs and Stratton engine has seen better days and the starter rope is no longer pulling starts with ease, it might be time for a replacement. Changing the starter rope is a straightforward process that doesn't require a trip to the repair shop. Here's a comprehensive guide to walk you through the steps to replace the starter rope on your Briggs and Stratton engine.
Before we dive into the process, it's crucial to have the right tools and materials. You'll need a new starter rope, a socket wrench, a flathead screwdriver, and some safety glasses to protect your eyes from any debris. Also, ensure your engine is cool to prevent any burns.
Inspecting the Current Starter Rope
Before you start, inspect the current starter rope. If it's frayed, kinked, or snapped, it's definitely time for a replacement. Even if it's still in good condition, changing it regularly (around every two years or 100 hours of operation) can help prevent potential problems down the road.


Also, check the recoil starter assembly for any damage. If the handle is broken or the springs are worn out, you might need to replace the entire assembly rather than just the rope.
Disassembling the Recoil Starter Assembly
The first step in replacing the starter rope is to disassemble the recoil starter assembly. Start by removing the engine's air intake housing. Using a socket wrench, loosen and remove the two bolts securing the housing. Set it aside and ensure the carburetor iscovery is closed to prevent fuel leakage.
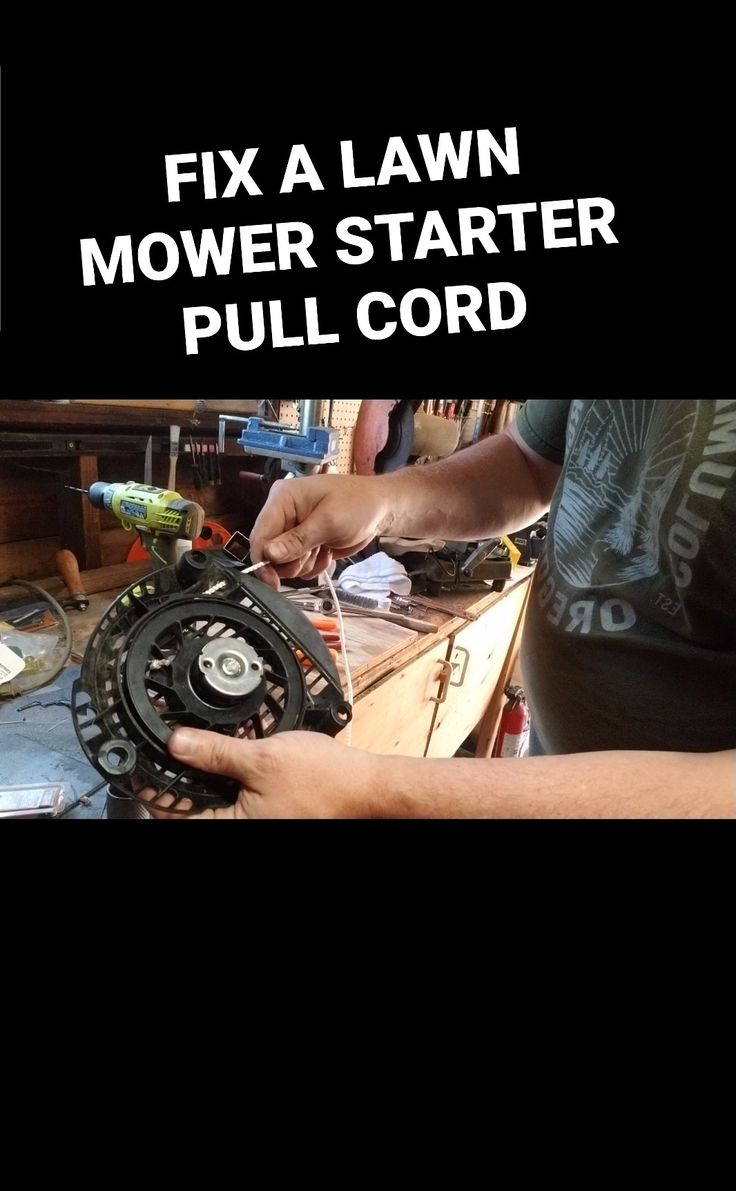

Next, remove the recoil starter cover. Using a flathead screwdriver, carefully pry off the cover. Be gentle to avoid damaging the cover. Once removed, you'll see the starter rope and the pulley it's coiled around.
Removing the Old Starter Rope
To remove the old starter rope, you'll need to release the tension on the springs. This can be done by rotating the pulley clockwise and counterclockwise to relieved the tension. You might need to use a wrench to do this.
Once the tension is released, you can carefully unravel the rope from the pulley. If it's difficult to remove, you can use a pair of pliers or a hook to help guide it off the pulley. Make sure to keep track of how the rope is coiled around the pulley, as you'll need to replicate this with the new rope.
Installing the New Starter Rope
Before installing the new starter rope, make sure it's the correct one for your Briggs and Stratton engine. You can find the rope model number in your engine's owner's manual or contact Briggs and Stratton directly for assistance.
To install the new rope, start by coiling it around the pulley in the same direction and pattern as the old rope. Make sure to keep the rope taut as you coil it to ensure it winds evenly.
Coiling the New Starter Rope
Once the rope is fully coiled, start winding it around the pulley. Begin near the handle and wind the rope back towards the engine, making sure to maintain an even tension. If you encounter any resistance, stop and readjust the rope.
Keep winding the rope until it's completely coiled around the pulley. You should end up with a tight, even coil that's ready to be secured.
Securing the New Starter Rope
To secure the new starter rope, you'll need to Tensor the springs. This is done by pulling the handle out and rotating the pulley clockwise. The tension on the springs will hold the rope securely in place.
You might need to adjust the tension a few times to ensure the rope is tightly secured and the handle return spring has enough tension to pull the handle back in after each start.
Reassembling the Recoil Starter Assembly
With the new starter rope installed and secured, you can now reassemble the recoil starter assembly. Start by placing the recoil starter cover back on and securing it with the flathead screwdriver.
Next, reinstall the air intake housing. Ensure the carburetor iscovery is open and secure the housing with the two bolts using the socket wrench.
Now that your Briggs and Stratton engine has a new starter rope, it should be pulling starts with ease once again. Always ensure you're using the proper pulling technique and not jerking the handle, as this can cause damage both to the rope and the engine.
Related Articles

Easily Replace Rotten Fascia Board: Step-by-Step Guide
So, you've noticed some rotting on your fascia board? That's not ideal, but don't worry, you're not the first homeowner to face this issue, and you certainly...

How to Replace a Starter on a Ford F150: Step-by-Step Guide
Having trouble starting your Ford F150? A faulty starter could be the culprit. Here's a step-by-step guide on how to replace a starter on your Ford F150...

Step-by-Step Guide: How to Remove a Carburetor from Briggs & Stratton Engines
Removing a carburetor from a Briggs and Stratton engine, whether foroverhaul, maintenance, or replacement, involves precision and patience. This guide will...

Briggs & Stratton Governor Spring Replacement: Step-by-Step (57 characters, Title Tag Format: H1)
The governor spring, a critical component in Briggs and Stratton engines, controls the engine's speed under load. Over time, wear and tear can cause this...
Step-by-Step: Replace a Recoil Starter Rope
Don't you hate it when your lawnmower, generator, or engine-driven power tool refuses to start because of a worn-out recoil starter rope? It's frustrating, but...

Briggs & Stratton Carburetor Cleaning: Step-by-Step Guide
As a Briggs & Stratton engine owner, you know that regular maintenance is key to keeping your engine running smoothly. One crucial aspect of this maintenance...