How to Stop an Oil Pan Leak
Discovering an oil pan leak in your vehicle can be alarming, but you're not alone. Many car owners have faced this issue, and fortunately, it's possible to address it. In this guide, we'll walk you through the process of how to stop an oil pan leak, ensuring you understand each step for a safe and effective outcome.
Before proceeding, it's crucial to identify the leak's source. An oil pan leak can manifest in different ways, such as staining on the ground beneath your vehicle or a low oil level coupled with a light on your dashboard. Once you've confirmed that your oil pan is the culprit, follow the steps below to stop the leak.
Determine the Leak's Exact Location
Identifying the precise point where the oil pan is leaking is the first crucial step. The leak could be coming from a crack in the oil pan itself, a loose drain plug, or a faulty seal. Grab a flashlight and inspect the oil pan, firstly ensuring it's cool, as working on a hot pan can be dangerous.
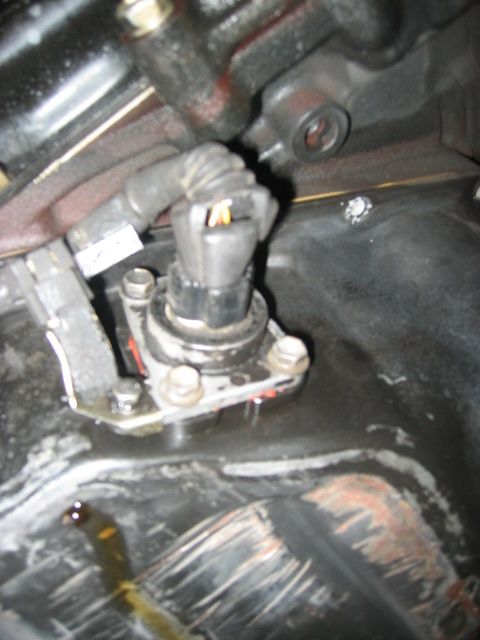


The leak might not always be easy to spot. Sometimes, you may need to ملاحظ Mall the area to find the source. Once you've located the leak's exact point, you can proceed with the repair process.
Repairing a Cracked Oil Pan
If the oil pan is cracked, you'll need to replace or repair it. New oil pans are readily available at auto parts stores, and the replacement process involves a few steps:


- Drain the oil and remove the oil filter.
- Support the engine and remove the oil pan.
- Inspect the oil pan for cracks and compare it with the new one.
- Transfer the gasket from the old pan to the new one, ensuring it's still in good condition.
- Apply a small amount of oil to the gasket, place the new oil pan, and bolt it into place.
- Reinstall the oil filter and refill the engine with the appropriate oil type and amount.
Another approach is to repair the crack using an epoxy sealant, which can be a more affordable solution. Always follow the manufacturer's guidelines for the specific product you're using.
Tackling a Loose Drain Plug or Faulty Seal
When the leak is due to a loose drain plug or faulty seal, tightening or replacing these components can solve the problem. Use the appropriate wrench to tighten the plug, but be careful not to overtighten. For faulty seals, remove the old one, clean the area, and apply a new sealant before reinstalling the oil pan.
If you're unsure about any part of the process, consult a professional. DIY repairs can save you money, but safety should always be your priority.
Preventing Future Leaks
Taking preventive measures can help extend the life of your oil pan and minimize the risk of future leaks. Regular oil changes ensure that your engine stays clean and lubricated, reducing the strain on the oil pan. Additionally, properly maintaining your vehicle's suspension will minimize impact-related damage to the oil pan.
Investing in a higher-quality oil filter and using the recommended oil type can also contribute to better engine health. Regular leak inspections during oil changes can help you catch any potential issues early, preventing them from escalating into costly repairs.
In a final note, always remember that prompt action is crucial when dealing with oil pan leaks. Addressing the issue promptly not only saves you money but also helps maintain your vehicle's overall performance and extends its lifespan. Happy repairs!
Related Articles

Stop Hamster Water Bottle Leak: 5 Simple Tips
Got a leaky hamster water bottle causing quite a mess? You're not alone. It's a common issue, but one that's easily fixable. Let's dive into how to stop a...

"How to Stop Copper Pipe Leak"
Discovering a leak in your copper pipe can be a stressful and unwelcome sight, but don't panic. Leaks can be repaired, and with the right information, you can...

"Plugging Leaks: A Step-by-Step Guide to Using Stop Leak in Radiators"
Radiators are essential components of your vehicle's cooling system, ensuring your engine doesn't overheat. However, issues can arise over time, such as leaks...

Stop Power Steering Leaks: DIY Fix for Leaking Power Steering Fluid
Is your car making a strange whining or squealing noise every time you turn your steering wheel? Are you noticing a musty smell coming from your vehicle, or...

How to Fix: Stop Oil Leak from Head Gasket
Discovering an oil leak from your head gasket can be a daunting prospect, but don't let it overwhelm you. Rectifying the issue might seem complicated, but with...
Stop Hamster Water Bottle Leak: Easy Fixes
A leaky hamster water bottle can be more than just an inconvenience. It can lead to messes, waste, and potentially cause health issues for your furry friend...