Effortlessly Remove Text Box Borders in Microsoft Word
Ever found yourself in need of a text box in Microsoft Word, but fancy a borderless, clean look? Removing a text box border might seem tricky, but never fear, it's simpler than you think. Let's delve into the step-by-step process ofAchieving a borderless text box in Word.
Before we start, ensure your Word version is up-to-date. The steps here are based on Microsoft Word 2016 and later versions, including Word for Microsoft 365. While the interface may vary slightly between versions, the basic process remains the same.
Basic Text Box Border Removal
If your text box has no specific formatting, you can easily remove the border in just a few clicks.


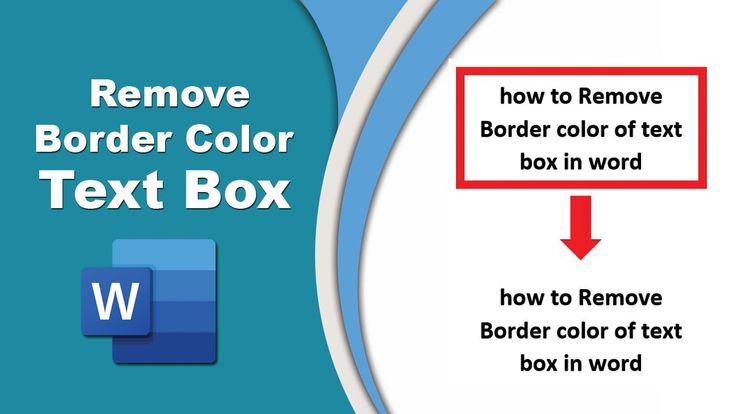
First, select the text box. Click anywhere inside the box to activate it. You'll see small handles appear around the box, indicating it's selected. If your cursor is hovering near a handle, wait for it to appear before clicking.
Accessing the Format Tab
Once selected, look for the "Format" tab in the 'Home' tab's context menu. This tab houses various formatting tools specific to the selected object.


If you don't see the "Format" tab, ensure that your selected object is indeed a text box and not a shape with text. To confirm, right-click the text box and select "Edit Text". If it's a text box, you'll see the cursor appear inside the box, ready for typing.
Removing Border Lines
If the "Format" tab is visible, look for the "Shape Outline" or "Shape Fill" icon, depending on your Word version. This usually appears as a colored lined square with a small triangle at the corner, representing a shape's outline. Click on this icon to open the "Shape Outline" or "Shape Fill" menu. Here, you'll find options to change the color, width, and style of the border.
To remove the border, select "No Outline" or "No Pen". The border will disappear instantly, and the option in the menu will change to reflect this (i.e., "No Outline" will become "Solid Line", indicating a border has been added again).
Removing Borders From Formatted Text Boxes
If your text box has specific formatting, such as a glowing border or 3D effect, removing the border might not be as straightforward. It's worth trying the steps above, but if they don't work, you might need to remove and recreate your text box.
Cloning and Removing the Original Text Box
To avoid losing any typed content, create a clone (duplicate) of your text box. To do this, press 'Ctrl + D' after selecting the text box. This will create an exact copy, enabling you to experiment with the original without fear of loss.
With the cloned text box selected, try to remove the border as described earlier. If it works, great! If not, delete the cloned text box and move on to removing the original.
Removing and Recreating the Text Box
Select the original text box and press delete (or backspace) to remove it. You'll lose any text inside, so ensure it's copied elsewhere (Ctrl + C before deleting).
To create a new, borderless text box, click "Insert" in the "Home" tab, then "Text Box". Type your text, ensuring it's formatted as desired. Your new text box should now be borderless.
Bravo! You've now mastered the art of removing borders from Word text boxes. This simple skill will greatly enhance your document's aesthetics, making it more engaging and professional. Happy typing!
Related Articles

Effortlessly Remove Border Lines in Microsoft Word
Are you tired of unwanted borders around your text in Microsoft Word? Borders can make your document look unprofessional and cluttered. Fear not, removing...
"Remove Word Text Box Border: Step-by-Step Guide"
Working with text boxes in Microsoft Word often comes with default borders that can sometimes be distracting or unwanted in your final document. Removing these...

Remove Borders in Word: A Simple Guide
Are you tired of borders around your text in Microsoft Word, disrupting the flow and aesthetic of your document? Rejoice, for removing borders is a breeze with...
Eliminate Borders in Word: Ultimate Guide for Elegant Documents
Ever found yourself wanting to remove a border line in Microsoft Word, only to find the process less than intuitive? Fret not, as we're here to guide you...

Remove Text Box Border in Word: Quick Tips
Ever found yourself drafting a professional document, only to be distracted by unsightly lines around your text box? Fear not, for Microsoft Word offers a...

Boost Your Word Docs: Add Decorative Text Borders Instantly
Ever found yourself wanting to add a touch of elegance or professionalism to your Microsoft Word documents? One way to achieve this is by adding decorative...