"How to Create Stairs in Blender: A Step-by-Step Guide"
Welcome to the world of 3D animation and modeling with Blender! One of the many structures you might want to create in this powerful software is stairs. Stairs are complex shapes, but with a bit of planning and practice, they're well within reach. Today, we're going to guide you through the process of creating a simple, stylish staircase in Blender.
Before we begin, ensure you have the latest version of Blender installed. We'll be using Blender 2.93 for this tutorial. Also, some prior knowledge of the Blender interface and basic modeling techniques will be helpful, but don't worry if you're new to the software. We'll keep the instructions clear and concise.
Understanding the basics of staircase design
The first step in creating a staircase is understanding its basic design elements. Stairs are composed of risers (the vertical distance between steps), treads (the horizontal distance), and a stringer (the sloping part that connects the treads).


For this tutorial, we'll create a simple, straight staircase with a consistent riser height and tread depth. The design will be functional and minimalistic, suitable for modern interiors.
Setting up your Blender workspace
Start by opening Blender and setting up your workspace. Press 'N' to open the sidebar, then click on the 'Layout' workspace. This will give you a clear view of your 3D space, tools, and properties.
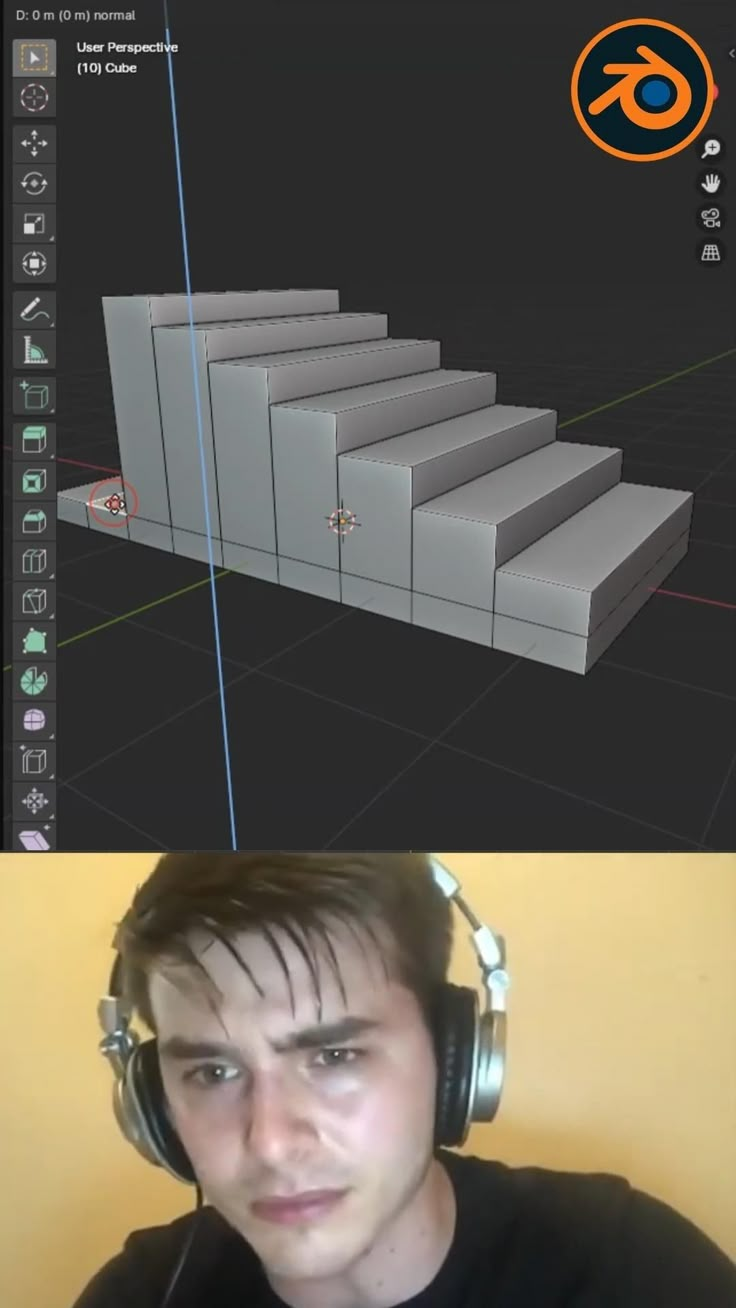

For a more intuitive workflow, you can change the orthographic view to 'Top' and enable 'Ortho' by pressing '5' on your numpad. This will give you a clear, 2D view of your project space.
Planning your staircase layout
Before creating the stairs, it's essential to plan their layout. This includes determining the staircase's length, rise (height), and run (depth). For this tutorial, we'll use the standard U.S. staircase dimensions: a rise of 7 inches (around 17.75 cm) and a run of 11 inches (around 27.9 cm).
To determine the number of stairs needed, you can divide the overall height of your staircase by the rise dimension. For example, if your staircase needs to be 84 inches (213 cm) tall, you would need approximately 8 (213/17.75) stairs.
Creating the 2D plan
Now that your layout is planned, it's time to create a 2D representation in Blender. This will serve as the foundation for your 3D staircase. Switch to 'Edit Mode' by pressing 'Tab', then press 'G' to create a grid that fits your layout.
Delete the unnecessary grid vertices by selecting them and pressing 'X', then 'D' to dissolve the selected vertices. This will leave you with a 2D shape representing your staircase's layout.
Extruding the 2D plan into a 3D staircase
Once your 2D plan is complete, it's time to bring it into 3D. Select the entire shape, then press 'E' to extrude it. Navigate to the 'Options' panel in the sidebar (press 'N') and set the 'Extrude' value to match the riser height of your staircase.
Press 'Enter' to confirm the extrusion, then switch to 'Object Mode' by pressing 'Tab'. You should now see a basic 3D staircase shape. Next, we'll refine this shape by adding treads and risers.
Refining the staircase shape
Select the staircase object, then press 'P' to separate the mesh into individual treads and risers. This will allow you to edit each part individually. You can now refine the treads and risers by moving, scaling, and rotating them as needed.
To ensure your staircase is perfectly symmetric, you can add a 'Mirror' modifier to the main staircase object. This will ensure that any changes you make to one side of the staircase will be reflected on the other.
Creating the stringer
The stringer is the sloping part of the staircase that connects the treads. To create it, we'll use a 'BezierCurve' object, which can be found in the 'Add' menu under 'Curve' > 'BezierCurve'.
Position the curve along one edge of your staircase, then reshape it to match the slope of your stairs. To do this, add control points to the curve and adjust their positions until the curve matches the stringer's shape.
Extruding the stringer
Once your curve is shaped correctly, it's time to extrude it into a 3D object. Press 'E', then navigate to the 'Options' panel and set the 'Extrude' value to match the thickness of your stringer. Press 'Enter' to confirm the extrusion.
To refine the stringer, you can add 'Loop Cuts' to create more edges and vertices, allowing you to better match the shape of your staircase. To do this, press 'Ctrl+R', then move the mouse to create a cut, and press 'Enter' to confirm.
Adding final details
With your staircase's basic shape complete, it's time to add final details. This could include adding balusters (the vertical supports between the treads), a handrail, or any other decorative elements.
For balusters, you can create a simple cylinder object, add an 'Array' modifier to duplicate it along the staircase's length, then position it between the treads. For a handrail, use a 'BezierCurve' object and reshape it to match the desired format.
Congratulations, you've now created a functional, stylish staircase in Blender! You can continue refining your design, applying materials and textures, and even adding animation for a more dynamic result.
We hope you found this tutorial helpful and informative. Blender is a powerful tool with endless possibilities, so don't be afraid to experiment and explore its features. Happy modeling!
Related Articles

"Create Cup from Paper: Step-by-Step Guide"
Crafting a cup from paper might seem like a daunting task, but with the right technique and materials, it's surprisingly simple and enjoyable. Not only is it...

"Create Badges in Roblox: Step-by-Step Guide"
Ever wanted to create your own unique flare within the Roblox universe? One way to stand out is by designing your very own badge. Badges not only showcase your...

"How to Create an engaging Animal Cell Project: Step-by-Step Guide"
Immerse your students in the captivating world of biology with a compelling animal cell project. This hands-on activity not only enhances learning but also...

"Create Stunning Flat Roofs in Revit: Step-by-Step Guide"
Embarking on the journey to create a flat roof in Revit involves a combination of understanding the tool's capabilities and mastering a few key steps. This...

"How to Create a Perfect Hair Topper: Step-by-Step Guide"
Ever found yourself wishing for longer, thicker hair, but don't want to wait for natural growth? A hair topper could be the perfect solution. This hairpiece is...

How to Create Stunning SolidWorks Animations: A Step-by-Step Guide
Embarking on a journey to create captivating animations in SolidWorks need not be intimidating. With a user-friendly interface and comprehensive tools...