How to Install Roof Exhaust Vent: Step-by-Step Guide
Ever found yourself in a stuffy attic or smelled stale air from your vent? It might be time to install a roof exhaust vent. Not only does it expel moist and hot air, but it also prevents mold growth and maintains a healthy living environment. Let's dive into a comprehensive guide on how to install a roof exhaust vent, optimizing your home's ventilation and air quality.
Before you start, ensure you gather the necessary tools and materials, including a roof exhaust vent fan, vent cap, screws, tape measure, drill, safety glasses, and a ladder. Safety should always be your top priority, so ensure you're comfortable working at heights.
Understanding Your Ventilation Needs
The first step in installing a roof exhaust vent is assessing your home's ventilation needs. Determine the size and type of fan required based on your attic's square footage and roof pitch. For most homes, a 10-12 inch fan is suitable, while larger attics may need 14-16 inch models.


Additionally, consider the fan's cubic feet per minute (CFM) rating and static pressure, which reflect its air-moving capability and resistance to airflow, respectively. A higher CFM and static pressure indicate a more powerful fan.
Choosing the Right Location
Selecting the correct installation site is critical for optimal performance. Ideally, place the vent near the attic's highest point to allow hot air to rise and escape effectively. Also, ensure the vent is not obstructed by nearby trees or structures that could hinder airflow.


To maintain insulation and prevent moisture buildup, position the vent at least two feet away from any walls or insulation. Additionally, avoid placing the vent directly above living spaces to minimize noise transmission.
Preparation and Installation
Once you've chosen the perfect location, measure and mark the vent's outline on the roof. Use a drill with a hole saw attachment to cut an opening that matches the fan's size. Be sure to wear safety glasses during this process to protect your eyes from debris.
After making the opening, insert the vent fan through the hole, ensuring it's securely fitted. Tuck the fan's gasket around the perimeter and seal it with caulk or flashing to prevent water leakage. Secure the fan to the roof using the provided screws, ensuring they're tightly fastened to maintain a secure seal.
Connecting and Sealing the Vent Cap
With the fan securely in place, it's time to attach the vent cap. The cap protects the fan from rain and snow, while allowing hot air to escape. Position the cap over the fan, ensuring it fits snugly and covers the entire opening.
Secure the cap using the provided screws or mastic, ensuring it's firmly attached to the fan. Caulk any gaps between the cap and the fan to create a water-tight seal, preventing moisture from entering the attic.
Ventilation Ducting and Inspection
To maximize airflow, connect the fan to ventilation ducts leading into your attic. This helps to circulate air throughout the space, maintaining a consistent temperature and preventing moisture buildup. Ensure the ducts are properly insulated to retain heat and prevent condensation.
After installation, perform a thorough inspection to ensure all components are secure and functional. Check for any leaks or gaps that could compromise the vent's performance or cause water damage. Once satisfied with the work, test the fan to confirm it operates correctly and blows air out of the attic.
Maintenance and Care
Regular maintenance is essential to keep your roof exhaust vent performing at its best. Clean the fan's blades and grill annually to remove dirt, debris, and dust that can hinder its airflow. Additionally, inspect the vent cap for any signs of damage or wear, replacing it if necessary.
During harsh winters, consider installing a moisture sensor that automatically turns on the fan when humidity levels rise. This feature helps to minimize ice buildup and prevent damage from condensation.
Congratulations! You've successfully installed a roof exhaust vent, enhancing your home's ventilation, energy efficiency, and overall comfort. Regular maintenance will ensure your investment continues to pay off for years to come. If you're ever unsure about a step or prefer professional assistance, consult a local roofer or HVAC technician for expert guidance.
Related Articles

Mastering RV Vent Covers: Step-by-Step Installation Guide
Neglecting your RV's ventilation can lead to humidity buildup, mold growth, and unpleasant odors. Installing RV vent covers is an effective way to protect your...

How to Install Thule Roof Box: Step-by-Step Guide
Streamlining your journey, transporting more in your vehicle just got easier with Thule's roof boxes. They offer generous cargo space, aerodynamic design, and...
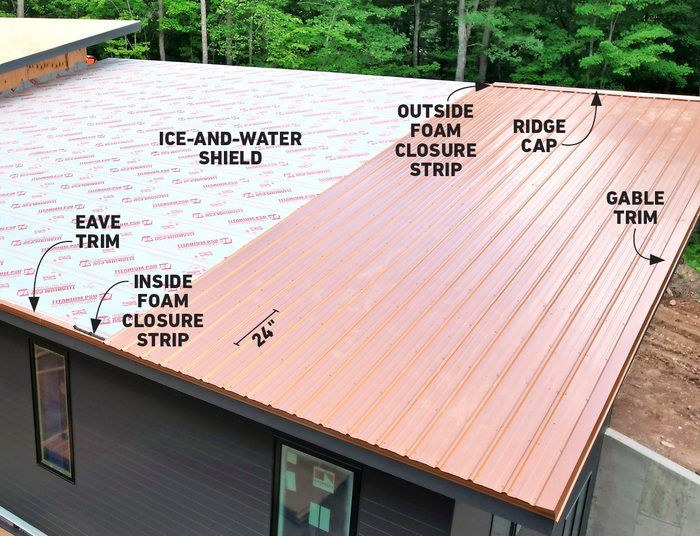
How to Install Metal Roofing on Flat Roof: Step-by-Step Guide
Transitioning your flat roof to metal can significantly boost durability and longevity, but the process demands careful planning and expert execution. This...

"Mastering Thule Roof Rack Installation: Step-by-Step Guide"
Installing a Thule roof rack is an excellent way to expand your vehicle's cargo-carrying capacity, making it perfect for road trips, moving, or hauling...

How to Install a Whirlybird Vent: Step-by-Step Guide
Are you looking to improve your home's ventilation and reduce energy costs? Installing a Whirlybird exhaust fan might just be the solution you're seeking. This...

Mastering Roof Insulation: A Step-by-Step Installation Guide
Embarking on a roof insulation project? You're on the right track to a more energy-efficient and cozy home. Installing insulation in your roof is a rewardingly...