Step-by-Step Guide: How to Install a Roof Fan
Transforming your attic into a comfortable, cool space during sweltering summer months can be as simple as installing a roof fan. These innovative appliances keep temperatures down by circulating air, making them an ideal solution for those looking to save on energy bills while maintaining a breeze-free zone. So, let's delve into the step-by-step guide on how to install a roof fan, ensuring your home stays refreshed throughout the year.
Before diving into the installation process, ensure you've procured all the necessary safety gear - including gloves, safety glasses, and a sturdy ladder - and familiarized yourself with any relevant local building codes. Now, let's embark on this informative journey to cooler climes.
Gathering Required Materials and Tools
Assembling the right equipment is the cornerstone of a successful installation. Besides your roof fan, make sure to have:


- Safety gear (gloves, glasses)
- Ladder
- Power drill
- Phillips and flathead screwdrivers
- Jigsaw or reciprocating saw
- Pencil
- Tape measure
- Shims, if necessary


Safety First: Preparing Your Roof
Before you start cutting into your roof, ensure it's clean and free from any obstacles. Remove any debris or objects that might hinder your work or pose a safety hazard. Additionally, secure the ladder to prevent it from slipping during the installation process.
Be mindful of power lines and other nearby structures when positioning your ladder. Always maintain three points of contact - two feet and one hand, or two hands and one foot - while climbing or working on the roof to prevent falls.
Marking and Cutting the Hole for Your Fan
First, determine the best location for your fan, ideally near the peak of the roof and centered between roof ridges. Mark the spot using a pencil, then measure and draw a square or circular shape around it, depending on your fan's design.
Using a jigsaw or reciprocating saw, carefully cut along the marked lines, following safety guidelines such as wearing protective glasses and maintaining a firm grip. After creating the hole, clean up any debris from the area to prepare for the next steps.
Installing the Fan Housing and Shaft
Begin by placing the fan housing - the part that will sit on the roof - in position. If your roof is uneven, use shims to level it out and ensure a secure fit. Once level, trace the housing's mounting holes onto the roof and use a drill to create pilot holes.
Secure the housing to the roof using the provided screws or bolts. It should now be firmly attached, weatherproof, and ready to support the fan's rotating shaft. Next, feed the shaft assembly up through the hole from the attic side, connecting it to the motor housed in the fan housing. Tighten all screws and bolts to ensure a firm connection.
Attaching the Fan Blades and Cover
Thread the fan blades onto the shaft, ensuring they lock properly into place. Once attached, position the blade guard over the fan, and secure it using the provided hardware. This cover protects the fan from debris and prevents animals from nesting inside.
Before proceeding, perform a thorough check to ensure that all screws and bolts are firmly tightened and that the fan's balance is not compromised. Now, it's time to wire up the fan and test your handiwork.
Wiring the Fan: A Word of Caution
Before attempting to wire the fan, turn off the main power at your circuit box to prevent electrocution. If you're unsure about any aspect of electrical work, consult a licensed professional to ensure your safety and compliance with local regulations.
Assuming you've turned off the power, follow the wiring instructions provided with your fan. Generally, this involves connecting wires to corresponding terminals and ensuring proper polarity. Once complete, restore power at the circuit box and test your fan to ensure it operates smoothly.
Congratulations! You've successfully installed a roof fan, transforming your attic into a cooler, more comfortable space. With proper maintenance, your fan will serve you well for years to come, contributing to reduced energy bills and enhanced indoor air quality. As you enjoy the comforting breeze, consider the future. Would adding more fans or optimizing your insulation further improve your home's efficiency? The choice is yours, but now you're empowered with the knowledge to make informed decisions.
Related Articles

How to Install Thule Roof Box: Step-by-Step Guide
Streamlining your journey, transporting more in your vehicle just got easier with Thule's roof boxes. They offer generous cargo space, aerodynamic design, and...
How to Install Metal Roofing on Flat Roof: Step-by-Step Guide
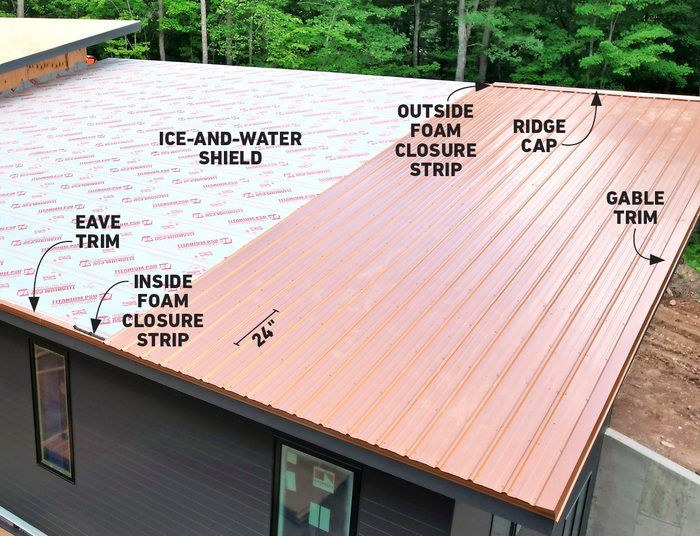
Transitioning your flat roof to metal can significantly boost durability and longevity, but the process demands careful planning and expert execution. This...

"Mastering Thule Roof Rack Installation: Step-by-Step Guide"
Installing a Thule roof rack is an excellent way to expand your vehicle's cargo-carrying capacity, making it perfect for road trips, moving, or hauling...

Mastering Roof Insulation: A Step-by-Step Installation Guide
Embarking on a roof insulation project? You're on the right track to a more energy-efficient and cozy home. Installing insulation in your roof is a rewardingly...

How to Install Yakima Roof Rack: Step-by-Step Guide
Elevate your vehicle's cargo capacity with a sleek and secure Yakima roof rack. Perfect for carrying kayaks, skis, bikes, and loads more, a Yakima roof rack is...

Mastering Tin: A Step-by-Step Guide to Installing a Roof
Embarking on a home improvement project like installing a tin roof can seem daunting, but with the right guidance, it's a task well within the grasp of many...