How to Draw a Vertical Line in Word
Ever needed to draw a vertical line in Microsoft Word to create a visual separation or highlight important text? It's a surprisingly simple task once you know how. Let's dive into the steps to achieve this, ensuring your documents look professional and engaging.
Word offers a few methods to draw a vertical line, depending on the version you're using. We'll cover the latest version first and then provide an alternative for older versions.
Using the Drawing Tool (Word 2013 onwards)
The Drawing tool is a powerful feature that allows you to insert various shapes, including lines, into your Word document. Here's how to draw a vertical line using this tool:

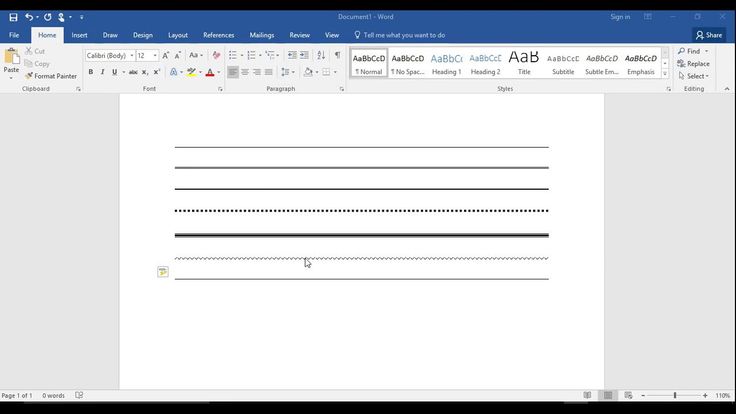

1. Place your cursor where you want the line to begin.
2. Click on the 'Insert' tab in the Ribbon.

3. In the 'Illustrations' group, click on the 'Shapes' button (which looks like a small square with an arrow pointing upwards).
4. From the drop-down menu, select the 'Line' option (the first icon in the 'Lines' section).
5. Click and drag the crosshair that appears to draw the line to the desired length. Release your mouse to place the line.
Formatting the Line
erade Drawing isn't just about adding the line – you can also format it to match your document's style:
6. With the line still selected, click on the 'Format' tab that appears in the Ribbon.
7. Here, you can change the line's color, weight (thickness), and style (solid, dashed, etc.). You can also adjust the line's transparency and apply other effects.
Resizing and Moving the Line
Once you've placed and formatted your line, you might need to resize it or move it to the perfect position:
8. To resize the line, hover your cursor over one of the small squares that appear at the corners and middles of the line. When the cursor changes to a two-headed arrow, drag the line to the desired length.
9. To move the line, simply click and drag it to the new position.
Using the Equation Editor (Word 2007-2012)
If you're using an older version of Word, you can still draw a vertical line using the Equation Editor. This method is a bit hidden but still effective:
1. Place your cursor where you want the line to begin.
2. Click on the 'Insert' tab in the Ribbon.
3. In the 'Symbols' group, click on the 'Equation' button (which looks like an equal sign inside a small square).
4. The Equation Editor will open, and 'Object' will be automatically selected in the equation field.
5. On the 'Equation Tools' tab that appears, click on the 'Design' group's 'Legacy Tools' button (which looks like a small downward-facing arrow).
6. From the drop-down menu, select 'Line' (the first icon in the 'BasicMath' section).
7. Click and drag in the document to draw the line. To format, resize, or move the line, follow the same steps as with the Drawing tool.
Practice Makes Perfect
Drawing vertical lines in Word is a great way to enhance your documents' readability and visual appeal. With a bit of practice, you'll be adding lines and other shapes naturally, making your documents stand out.
Don't forget to experiment with line colors, weights, and styles to find the best fit for your document. And if you find yourself needing more complex shapes or diagrams, consider exploring Word's additional drawing tools or using a graphic design application in tandem with Word.
Now that you know how to draw a vertical line in Word, unleash your creativity and make your documents truly your own. Happy writing!
Related Articles

How to Draw a Vertical Line in Microsoft Word
Creating a vertical line in Microsoft Word can be a simple or complex process depending on your version and the desired result. Here, we'll explore how to...
"Add Vertical Line in Word: A Quick Guide"
When you're working with text documents, sometimes you need to add a vertical line to separate content, create columns, or denote important sections. Microsoft...

Mastering 3D Word Illustrations: A Comprehensive Guide
Have you ever wanted to add depth and dimension to your hand-lettered designs? mastering the art of drawing words in 3D can transform your typography, making...

Mastering Shading: How to Draw Without Line Art
Embarking on an artistic journey without the aid of lineart can be both liberating and daunting. Lineart, or outlines, provide a structured foundation, but...

How to Draw an 'S' with Simple Line Steps
Unlocking the essence of typography starts with mastering the fundamentals, and understanding how to draw letters with lines is an excellent place to begin...

Mastering Whiskers: Learn to Draw a Cat
Ever found yourself captivated by the charm of a cat, wanting to capture its essence on paper? Learning how to draw a cat can open up a world of creativity...