How to Draw a Line in Microsoft Word: Step-by-Step Guide
In the sprawling realm of productivity software, Microsoft Word stands as a titan, providing users with a plethora of features to format text, create documents, and even draw lines. Yes, you heard it right. Microsoft Word, despite being primarily a word processing tool, offers line drawing capabilities that can be quite handy in various situations. Whether you're creating a flow chart, a simple diagram, or you just need a visual break in your text, let's guide you through the process of drawing lines in Microsoft Word.
Before we dive into the specifics, let's ensure you're working with the correct version of Word. The instructions provided here are applicable to Microsoft Word 2013 and newer versions, including Word for Microsoft 365.
Drawing Straight Lines
Drawing a straight line in Microsoft Word is a straightforward process. It involves the use of the Shapes tool, which offers a variety of line styles. Let's explore this.

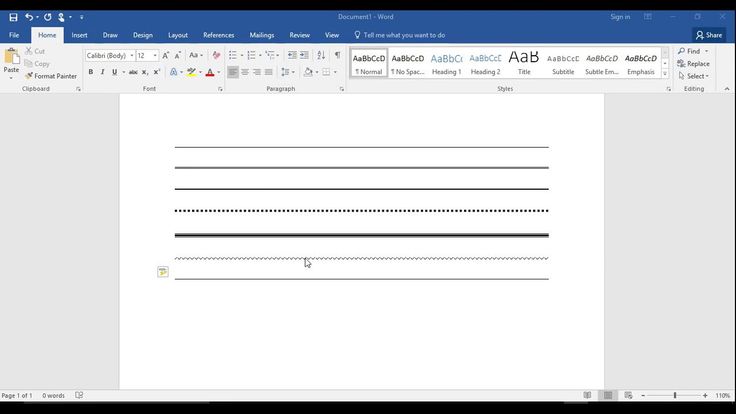

First, place your cursor at the location where you want the line to start. Then, click on the 'Insert' tab in the Ribbon. In the 'Illustrations' group, click on the 'Shapes' button, which looks like a small rectangle with a downwards-pointing triangle in the top-left corner. This will open a dropdown menu with different shapes. Hover over the 'Lines' category to reveal a palette of line styles. Click on the line style you prefer to insert it into your document.
Controlling Line Length and Orientation
Once the line is inserted, you'll see eight small squares (or handles) appear around it. These handles allow you to manipulate the line's length and orientation. To change the line's length, click and drag the middle square up or down. To change the line's angle, drag one of the corner squares until you achieve the desired orientation.


You can also enter specific dimensions directly into the shape's 'Size' group in the 'Format' tab that appears once you've selected the line. Here, you can specify the line's height and width, and also rotate it to a specific angle.
Changing Line Color and Style
Done with the size and orientation? Great! Now, let's make your line stand out. With the line still selected, head over to the 'Format' tab in the Ribbon. Here, you'll find options to change the line's color, width, and style. Click on 'Solid fill' to change the line's color, and select from the palette that appears. To change the line's width, click on the dropdown arrow next to 'Width' and choose from the available options. To change the line style, select from the options in the 'Dashes' dropdown.
Drawing Curved and Complex Lines
While Microsoft Word's Shapes tool doesn't directly offer curved or complex line options, you can create aesthetically pleasing curves and waveforms using combinations of straight lines and shapes. For more complex line creations, you might need to switch to vector graphics software like Adobe Illustrator or Inkscape, which offer advanced tools for line manipulation and creation.
Remember, Microsoft Word is a versatile tool, and while it can indeed draw lines, its primary focus remains word processing. So, while you can create simple drawings and shapes within Word, for more complex graphics, consider switching to a dedicated graphics program.
That's a wrap! You're now equipped with the knowledge to draw lines in Microsoft Word. So, go ahead, create those flow charts, draw those visual aids, and make your documents more engaging. Happy creating!
Related Articles

Create Stunning Word Cover Pages: A Step-by-Step Guide
Creating an impactful cover page is the first step in making a strong impression with your document. Microsoft Word offers a variety of user-friendly tools to...

Reinstall Microsoft Word: A Step-by-Step Guide
Experience trouble with Microsoft Word? A fresh install might just do the trick. This comprehensive guide will walk you through the process, ensuring a smooth...

Mastering Straight Lines in Procreate: A Step-by-Step Guide
Are you new to Procreate and eager to master its basics? One of the fundamental skills to start with is drawing a straight line. While Procreate doesn't have a...

Adjusting Line Spacing in Word: A Step-by-Step Guide
Most of us spend countless hours crafting documents in Microsoft Word, but have you ever wondered how to adjust the spacing between lines to make your text...

Step-by-Step Guide: How to Draw a Simple Ring
Hello, aspiring artists! Today, we're going to tackle a simple yet beautiful subject: drawing a simple ring. Whether you're a beginner looking to improve your...

Mastering Bubble Letter "S": A Step-by-Step Guide
Learning to draw s in bubble letters can enhance your typography skills and add a touch of fun to your designs. This guide will walk you through the steps to...